
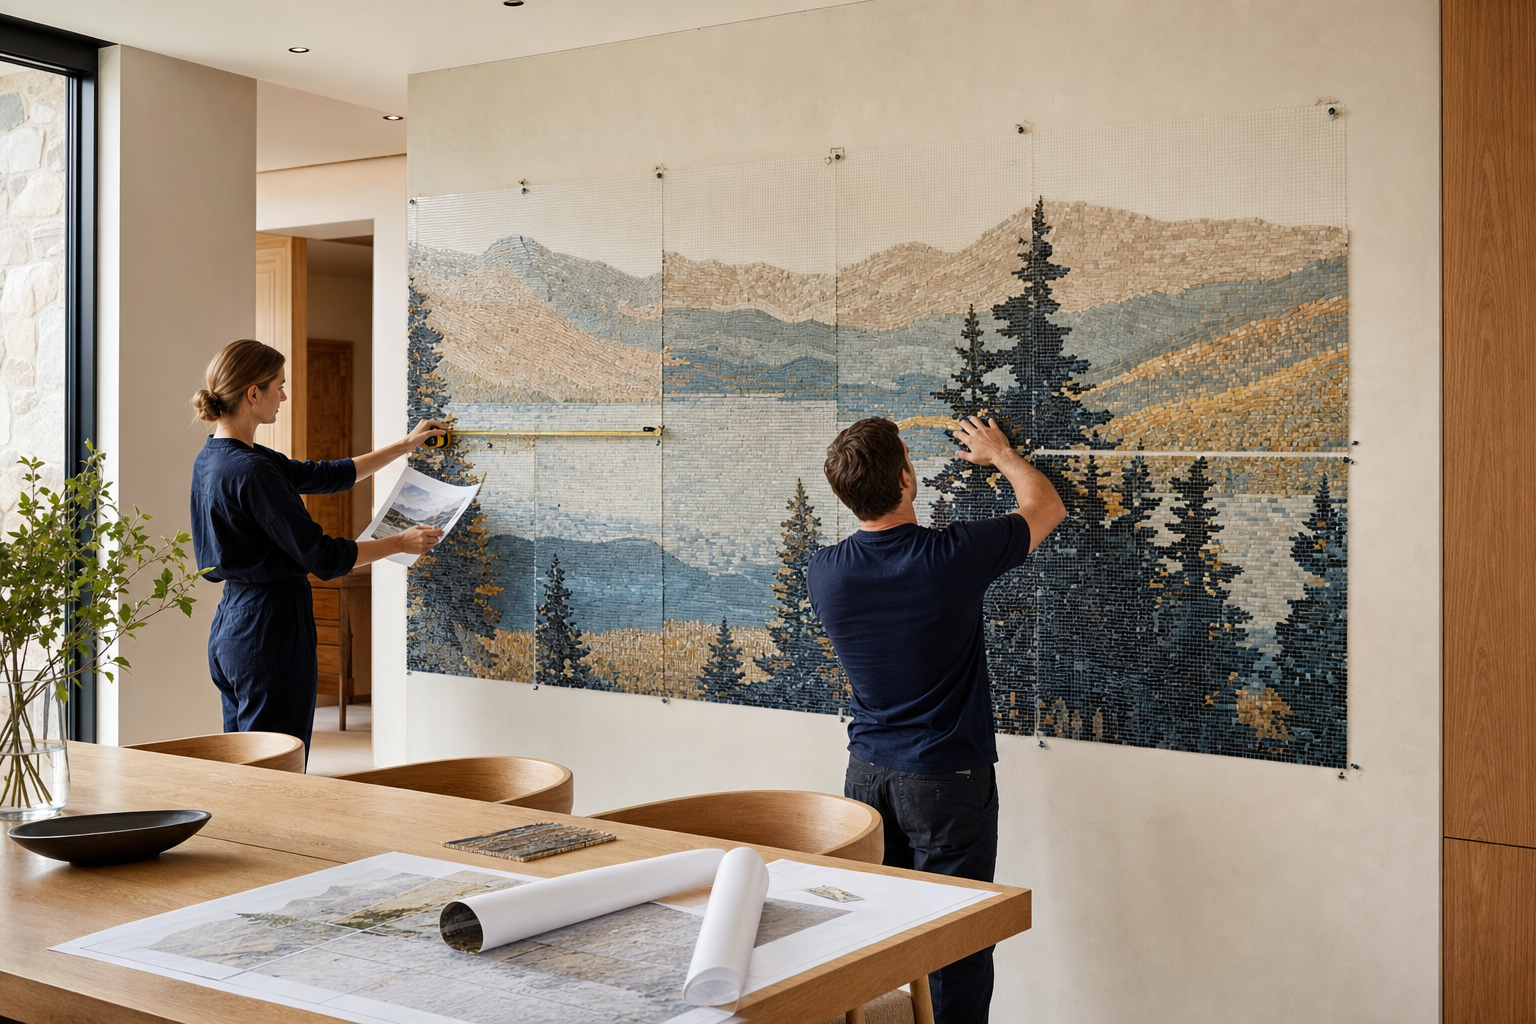
A successful mosaic mural project is planned as both art and installation. Before requesting a quotation, define the wall, finished size, viewing distance, material preferences and site conditions. The information below helps a maker price accurately and helps your installer prepare the surface correctly.
1. Record the wall accurately
Measure the wall in at least three places horizontally and vertically; older walls are not always square. Note the smallest usable dimension. Mark skirting, cornices, doors, windows, sockets, controls, vents and fixed lighting on a simple drawing, and take one straight-on photograph plus wider room views.
- Wall width and height in millimetres or inches
- Proposed mural width and height
- Distance from floor, ceiling and adjacent corners
- Furniture dimensions and its final position
- Locations of switches, outlets, vents and wall lights
- Typical viewing distance and main sightline
Do not measure from a photograph
Perspective makes photographs unreliable for scale. Use physical measurements and keep one unit system throughout the project to avoid conversion errors.
2. Decide whether the mural is framed or field-integrated
A framed composition has a defined edge and can sit like a large artwork within a wall. A field-integrated mural expands into surrounding mosaic or tile. The second approach requires closer coordination between the mural dimensions, field material, joint width and installer layout.
For an irregular silhouette or niche, provide a dimensioned template or drawing. Confirm which party is responsible for final site dimensions before production begins.
3. Understand what changes the budget
| Budget factor | Why it matters | How to control it |
|---|---|---|
| Finished area | More area requires more material, cutting, assembly and packing. | Set the mural’s visual priority first, then choose a size that fits both wall and budget. |
| Image complexity | Faces, fine foliage, lettering-like detail and subtle shading require smaller, more precisely cut pieces. | Simplify secondary areas while preserving detail at the focal point. |
| Material mix | Stone, glass and specialty finishes differ in cost and handling. | Use premium accents selectively instead of across the full field. |
| Customization | Redrawing, color development and approvals add design work before fabrication. | Provide clear references, dimensions and priorities in the first brief. |
| Site and installation | Surface preparation, access, lifting, adhesive, grout and local labor are separate project costs. | Ask an installer to inspect the wall before finalizing the order. |
4. Confirm the installation environment
Tell the maker whether the mural is indoors or outdoors, in a dry room, shower, pool area, kitchen, fireplace surround or other exposed location. Moisture, heat, freeze–thaw conditions, direct sun and chemical cleaning can change the appropriate material and installation system.
For wet areas, exteriors, pools and fireplaces, local building requirements and product manufacturer instructions take priority. Have a qualified installer specify the substrate, waterproofing or heat-rated assembly, adhesive, grout, movement joints and sealer where applicable.
The mural can only perform as well as the wall system behind it.
5. Prepare a flat, sound substrate
The receiving surface should generally be structurally sound, flat, clean and suitable for the selected setting materials. Paint, dust, moisture, movement or unevenness can compromise alignment and adhesion. The required preparation depends on the location and local construction, so final approval belongs to the project’s installer.
6. Plan delivery, dry layout and installation
Large hand-cut murals are commonly supplied in numbered mesh-backed sections with a layout drawing. Before fixing anything to the wall, inspect the shipment, confirm all sections are present and dry-lay them on a clean floor or large table in sequence. Review joins and image alignment before mixing adhesive.
- Unpack carefully: keep labels and section numbers with each piece.
- Dry-lay first: verify the complete image and identify intentional loose pieces.
- Establish control lines: use level reference lines rather than following an uneven floor or ceiling.
- Work in sequence: follow the supplied layout drawing and check joins while adhesive remains adjustable.
- Protect the surface: use cleaning methods appropriate to the specific stone or glass.
7. Treat grout color as part of the artwork
Grout can either unify the tesserae or emphasize every joint. A strongly contrasting grout may change facial features, fine outlines and tonal transitions. Review a sample with the actual mosaic material and follow the maker’s recommendation for color range, joint treatment and cleaning.
8. Build a realistic project sequence
- Brief: submit dimensions, photographs, location and visual references.
- Proposal: confirm design direction, material, size, price and estimated lead time.
- Approval: sign off the composition and any physical sample before fabrication.
- Production: allow time for hand cutting, assembly and quality control.
- Delivery planning: coordinate access, storage and inspection with your installer.
- Installation: complete substrate preparation before the mural arrives whenever practical.
Buyer’s checklist
- Dimensioned wall drawing and straight-on photographs
- Indoor or outdoor location and expected exposure
- Preferred mural size, subject and palette
- Material preferences or restrictions
- Target budget range and desired completion date
- Installer contact or confirmation that installation advice is needed
- Delivery address and any access limitations
9. Request a quote that can be compared properly
A useful quotation should identify the finished dimensions, materials, design scope, production estimate, packing, shipping basis and exclusions. Compare specifications, not only totals. A lower number may omit custom design, samples, freight, local duties, surface preparation or installation.
Send the complete project brief before requesting the final price. Better information produces a more accurate proposal and reduces changes after design approval.